Hey Everyone today I am sharing with you how I use Project Life Cards in my planner....
So what I do is for every week I will pick out a card that matches my planner spread then I will punch it into my planner.
On the back of the card I just write down some events and such that happened for that week that I want to remember. So I basically use the Project Life Cards for memory keeping.
Here are a few more examples:
Front.....
Back.....
Front......
Back......
Love,
CES <3
Wednesday, March 8, 2017
Monday, March 6, 2017
Outfit Of The Day: Pre K Registration (2/7/2017)
Hey Everyone today I am sharing a outfit that I wore for when I registered Chloe into Pre K!
Top: Walmart?
Leggings: Sears
Boots: Walmart
Love,
CES <3
Top: Walmart?
Leggings: Sears
Boots: Walmart
Love,
CES <3
Saturday, March 4, 2017
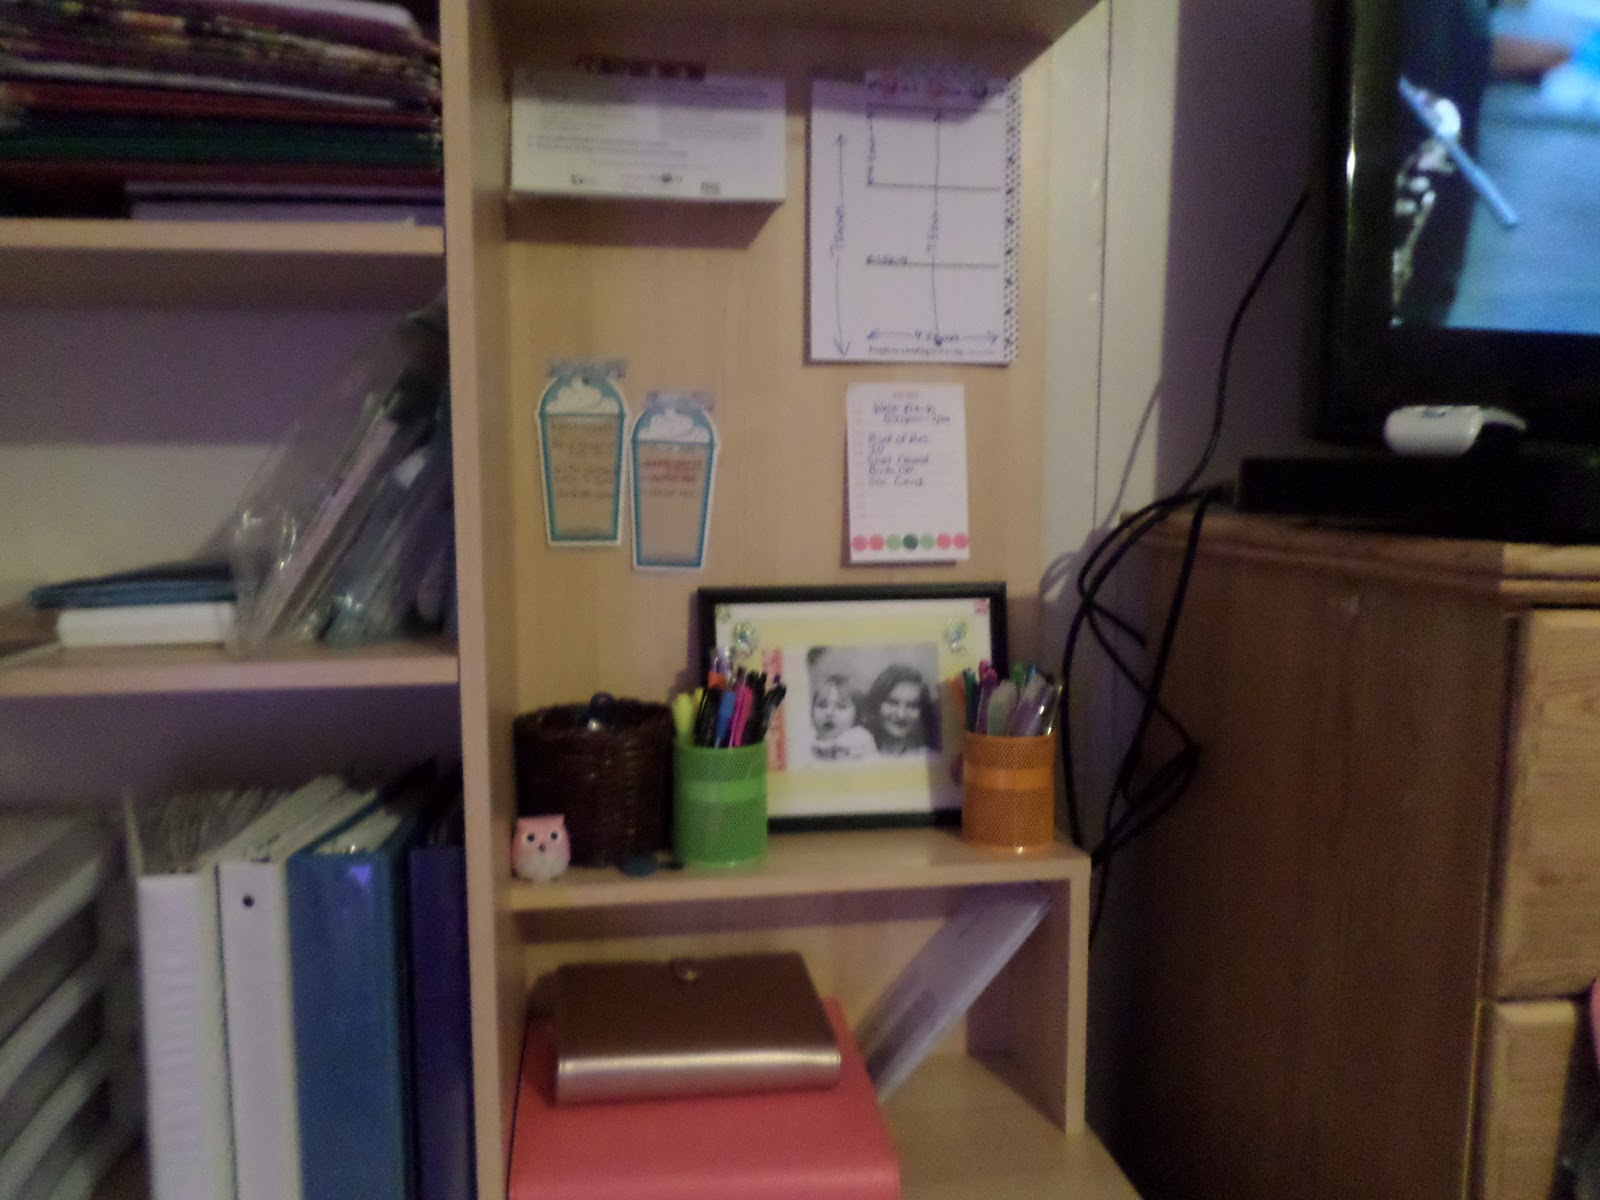
How I Organize My Craft/Planner Desk!!
Hey Everyone! Today I am sharing with you my craft/planner desk and how I organized it.
Alight so this is how my desk looks like right now. It was a mess before so I decided to re organize this and I like this so much better.
So at the very top I keep my planner clips, shaker cards, binders, paper trimmer, ribbons, fake flowers, etc. In the top shelf I keep mine and Chloe important papers and my health folders.
Okay so in the next shelf I keep extra HP pages, binder clips, paper pads and etc. Then I have my container that has my Washi, sticky notes and other random planner supplies. The next to that I have my sticker binders.
In this section is where I keep my planners and my pens.
Here is just a closer look....
Love,
CES <3
Friday, March 3, 2017
Classic Everyday Happy Planner Update!
Hey Everyone today I am doing a Happy Planner update on the Classic planner I use as my main everyday planner.
I keep my Classic Happy Planner in this deluxe cover to protect the rings. I love this cover and the gold foil in the heart.
This is what the inside looks like.... On the left side I keep some stickers, daily hourly inserts and my monthly dollar tree planner.
So this is how I decorated one of the weeks in my Classic. I did a Harry Potter Yule Ball theme and I loved the way it turned out. So I use this planner to write down appointments, holidays, birthdays, to dos, tv shows, blog posts, Chloe schedule, etc. I use the top box for important things, middle box for to dos and bottom for little things. I use the project life cards for writing down memories that happened that week.
Okay so in the very back of planner I keep goals I want to accomplish this year and my DIY dashboard I made.
At the back I keep my to go Dollar Tree planner.
Love,
CES <3
Sunday, February 5, 2017
How To Make A Shaker Card For Your Happy Planner!
Hey Everyone today I am sharing with you how to make a shaker card for your happy planner.
This is what a shaker card looks like in a planner. You can add any gems or sequins and it's pretty easy to make!
Okay so the first item you will need is some plastic sheets that you are going to use for your shaker. I got the idea to use plastic sticker sheets your stickers come in from Trish Davis on Youtube!
Next you will need scrapbook paper. This will go into your shaker card.
So first what you will do is cut the scrapbook paper to fit inside the plastic sheet. There should be an opening at the bottom of your plastic or you can cut on the top to make an opening to stick in your scrapbook paper.
So this is me showing you the scrapbook paper inside of the plastic sheet.
Next what I did was add some stickers on the plastic just so it had more decoration to it. I used the Mambi Color Story Sticker Book.
Next you will pick out the gems or sequins you want to use. I found these leaf ones in my moms craft supplies.
Okay so next you will put the sequins into the opening of plastic. After you added the amount you want, close it back up with the sticky spot it provides on the plastic or if you had to cut an opening then you would get tape to make sure it is close and won't open up.
Next you will need a hole puncher and scissors.
Last all you need to do is take out a page in happy planner and use a pen to mark where the holes are. Next you will take your hole puncher and make those holes you mark. Last you will use your scissors to cut the holes so that the shaker fits into your happy planner as shown in this picture.
Love,
CES <3
Friday, February 3, 2017
Favorite Planner Supplies Series #5: Paperclips!!
Hey Everyone Today is my final blog posts in this planner supplies series. I plan to do a updated version at the end of this year.
These are my favorite ribbon paperclips that I made. Ribbon is from Dollar Tree.
These paperclips I made from stickers.
These are my fave paperclips that I made from felt stickers. The owls are my favorite!!
These donuts paperclips are my absolute favorite that I have made so far!!
These owl paperclips I made from old necklaces.
Last are these button paperclips that I made. The buttons were from the Dollar Tree.
Love,
CES <3
Wednesday, February 1, 2017
February Happy Planner Spread: How I Decorated It! (Classic & Mini)
Hey everyone!! Today I am showing you how I decorated February in my Classic and Mini Happy Planner.
Classic Everyday Happy Planner:
This is how I decorated the currently page. The stickers and washi are from Dollar Tree.
This is the monthly page!
Week one I did a circus theme! The circus stickers are from Dollar Tree. The rest are from the Mambi Color Story sticker book.
Week two I decided to do a Princess theme. Princess stickers are from Dollar Tree and rest are from Mambi Color Story sticker book.
Week three and for Valentines I did a Valentines theme. Washi is from Dollar Tree. The gem stickers are from Dollar General I think and the rest are from a Mambi sticker book.
Week four I did a Treat theme!! The treat stickers are from the Dollar Tree and rest are from a Mambi sticker book.
Mini Health Happy Planner:
I covered up the currently page and added monthly goals.
Week one I did a flower theme. I am not sure where the flower stickers came from. Washi is from Dollar Tree.
Week two I did just a simple heart theme. The washi is from Dollar Tree and the heart stickers are from a Etsy shop.
Week three I just decided to decorate with just washi. Washi is from Dollar Tree.
Week four I did a pink owl theme. The owl stickers and washi is from Dollar Tree.
Love,
CES <3
Subscribe to:
Posts (Atom)